There’s a lot of information and discussions out there on how to locate your custom deep brake setting (see Asylum / CR article, or search on basejumper.com), and why that is a good idea if you jump solid slider down objects. So this is mainly about a little hack of mine that makes the job of changing the brake setting in between test jumps way easier. However, I write a bit on my approach at the bottom.
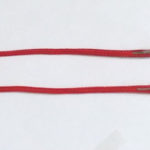
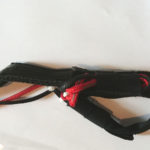
When setting up your custom DBS, you will have to do a number of test jumps off some safeish span to locate and verify it. For those jumps you’ll have to try out different brake settings, and there’s a number of ways to achieve this, but all I’ve seen up to this point involve some stitching to modify it in between jumps. (Most popular, moving the spliced loop of the lower steering line at the cascade end)
So to save myself from bringing a sewing machine, do any hand tacking or seam picking in between test jumps I came up with this idea to change the brake line length with a long splice instead. Lines shrink when spliced, for 900lbs Dacron that’s approximately 1.25cm (~1/2″) for a 10cm (~4″) splice. (or vice versa 1cm shrinkage for 8cm splice)
The mandatory liability bit on posts like this: THIS IS NOT APPROVED OR ENDORSED BY ANY MANUFACTURER, DO AT YOUR OWN RISK.
So, what you’ll need for this:
- some 900lbs Dacron line (so the same stuff your lower steering lines are made from)
- a splicing needle appropriate size for the 900lbs Dacron line
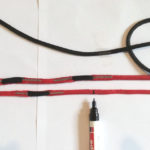
- a sharpie (or whatever marker brand you prefer)
If you’ve done this before you should have an educated guess on how much deeper your brake setting probably going to be. If you do this the first time, have someone have a look at your openings and judge if it is far off from optimal, to give you an idea, I’ve never did one more than 10cm (~4″) deeper.
How to do this:
Start by:
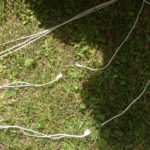
- Tie both brake lines at the cascade end down to some fixed anchor.
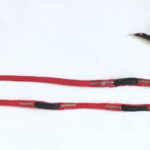
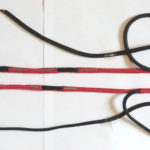
- Get 2 equally long pieces of loose line (900lbs dacron), I’d recommend somewhere in the range of 1m.
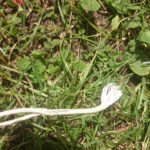
- Splice the line pieces into the lower steering line, starting just above of where the splice of the shallow brake setting ends, always leave at least 10cm of line sticking out at the brake setting end!
- Start off with splicing them in a long way, therefore shortening the line a lot. (I have my first run pretty much always too deep and open in a stall, this is a good thing, because now you’ve got only one direction to work towards. DO THIS ON A SPAN ONLY!)
- Make sure both lower steering lines are the SAME length. (Tension the lines! Atair recommends 30N / 6.6lbs for checking trim of lower steering lines, so I’d recommend something in that range)
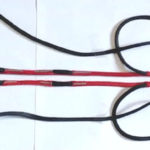
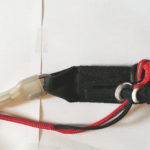
- Pack – Just stow the open line end that is sticking out together with the rest of the steering line on the back of the riser.

- Jump. (Be aware that your control stroke is also shortened for those test jumps)
- Evaluate. (Have someone get video, a bit more on this at the bottom)
Too shallow:
- Start at the beginning with a longer splice.
Too deep:
- Tie both brake lines at the cascade end down to some fixed anchor.
- Pull one of the spliced line out a bit, watch your progress by comparing both steering lines brake setting side by side until it is shallower by the desired amount compared to the other one.
- Pull out the other sides spliced line the same amount and make sure both lower steering lines are again the same length again.
- Pack.
- Jump.
- Evaluate.
- Repeate.
Just perfect:
- Tie both brake lines at the cascade end down to some fixed anchor.
- Remove the spliced line completely from one(!) breakline.
- Tension both steering lines side by side.
- Mark the location of the brake setting of the shortened line on the cleared line.
- Done. This mark is where your custom DBS has to go.
Before continue jumping:
- Remove the other splice.
Adding the new custom DBS:
The splices are not a way to permanently shorten the brake lines to achieve a custom DBS!
Since you probably don’t have the room above the factory DBS to add another one with 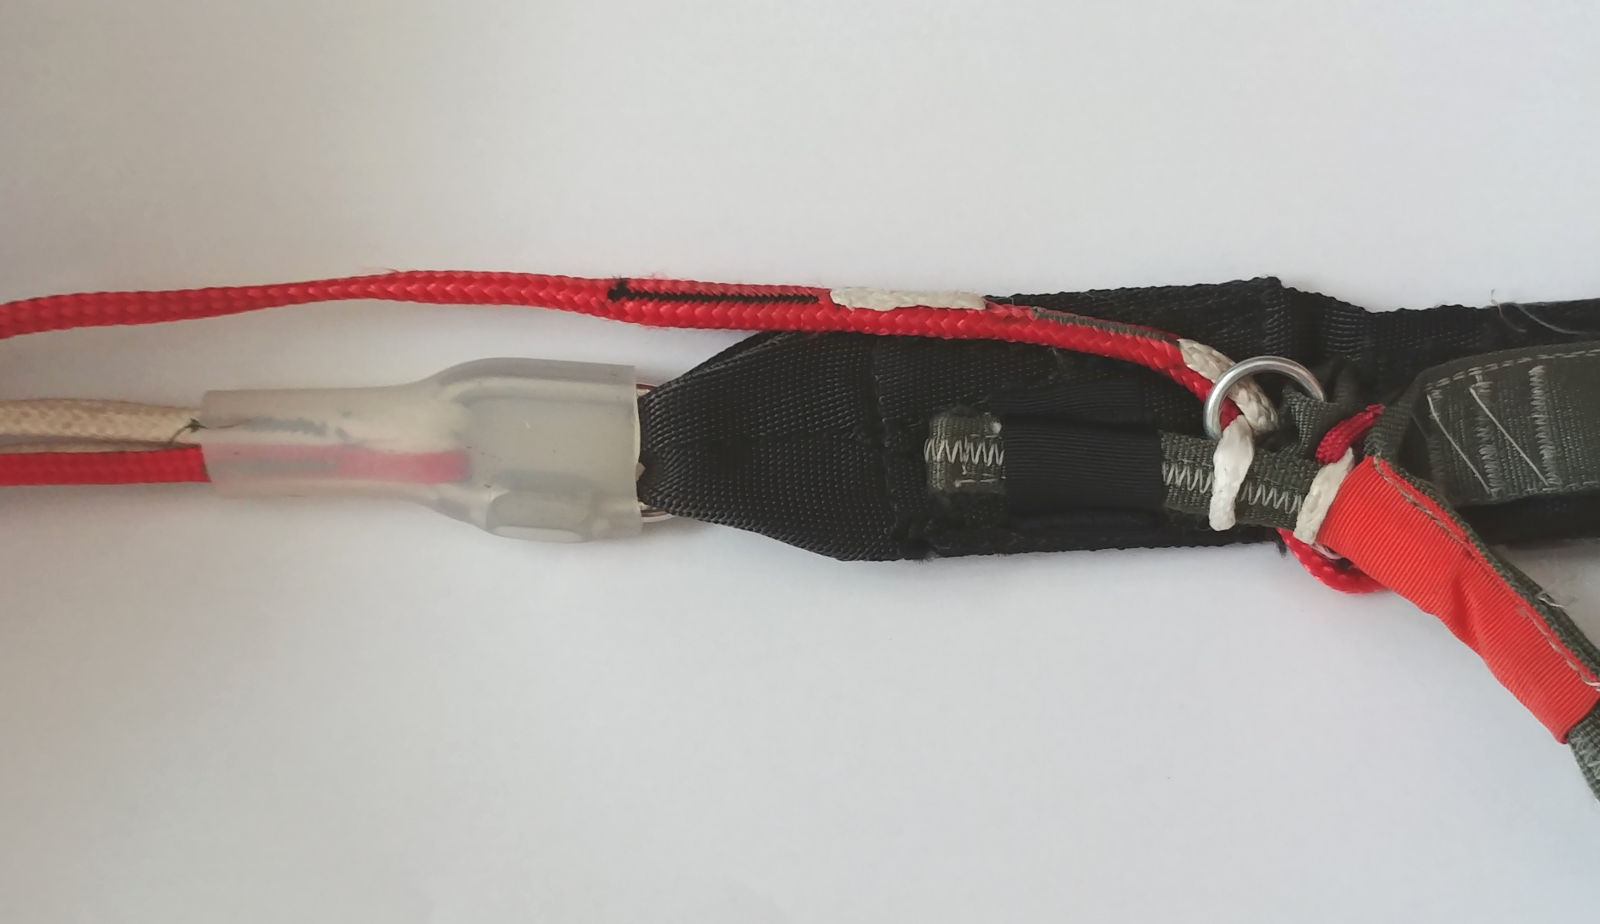 appropriate splice lengths the proper way would be:
Remove the brake settings completely, and using a longer inner splice create three new brake settings with the lower ones being exactly where your factory deep and shallow settings were and the highest one as your new custom setting. Or alternatively get completely new lower steering lines with this exact setting.
The hackidy-hack way:
I just add squirrel style brake settings using 1000lbs spectra on top of the existing factory brake setting. Keep in mind that this additional splice will deepen your factory brake settings (and control stroke) by ~1cm, and probably will weaken the line a bit more than the appropriate method above. One thing to watch out for here is to not have the end of the splice be on the same point as the existing splice of the factory setting! (Again, this is not approved by any manufacturer, do at your own risk.)
Everyone attempting this should know so much about rigging and parachute lines, but I still want to add this: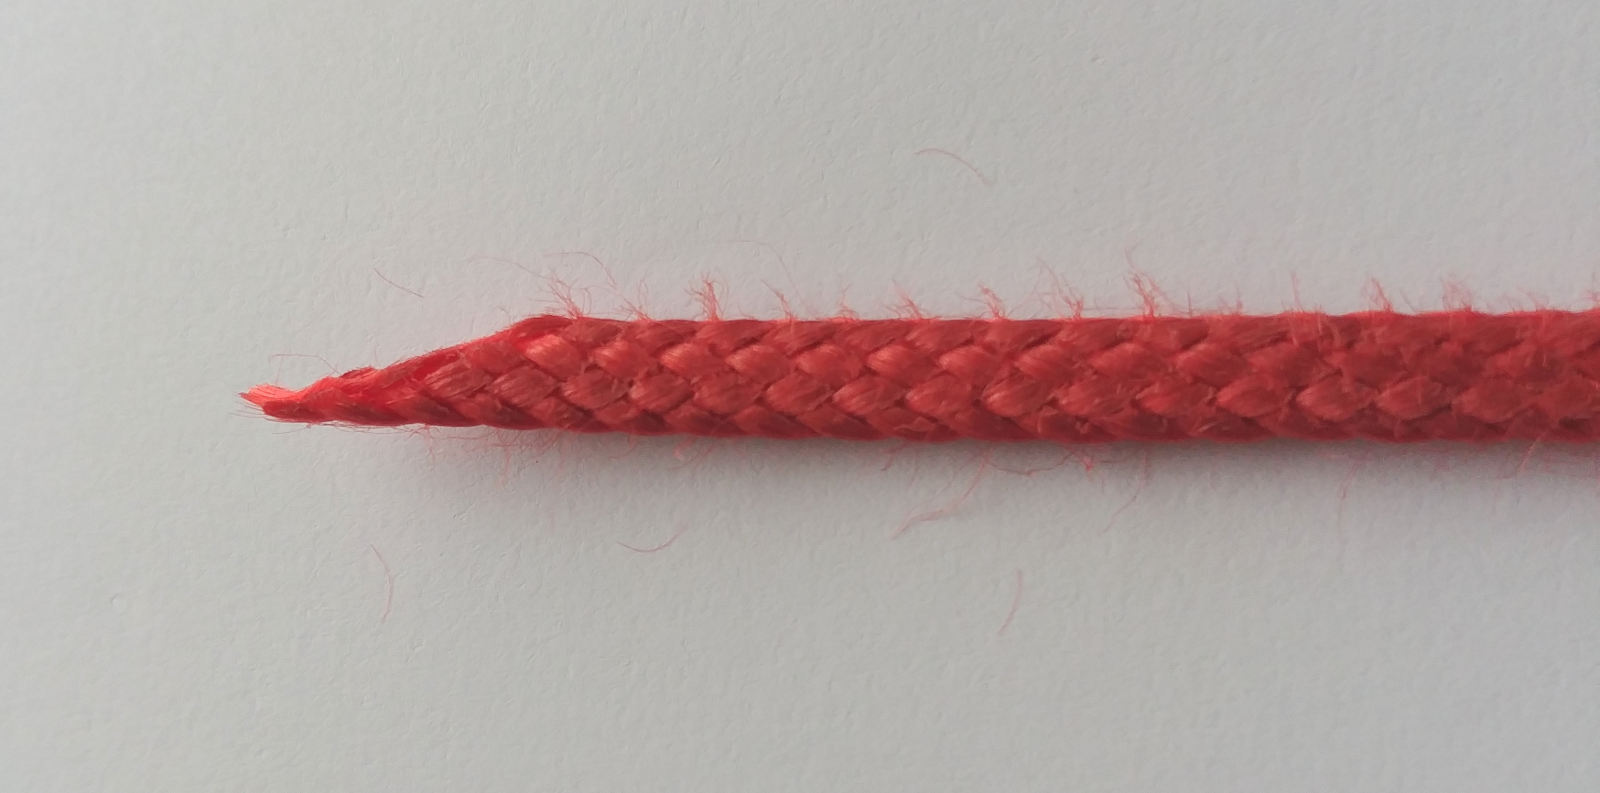
ALL splice line ends have to be cut at an angle! (And never ever take a lighter to melt the ends)
The point where the splice ends inside the line is a stresspoint, it’s the point where the line goes from thick to thin, and cutting the spliced end at an angle reduces the stresses occurring in the line. This should be as smooth and continuous as possible, still this will always be the weak point of any line. When looking at lines broken due to overload, they will always break on the point at the end of a splice. Eg. Broken center A-B lines due to overload will (given no prior damage) break at the point where the B splice ends inside the A line at the cascade.
The method I use for evaluating a brake setting I got recommended by Tom Aiello some years ago:
Do test jumps in as little wind as possible. After canopy starts flying try to do an avoidance backriser turn. The canopy should still be able to turn, and not stall the other side. This is best checked on video from above, if the center cell looks like it is un-stalled, and the un-stalled side circles around the stalled side its fine. If the other side stalls or struggles coming around the setting is still too deep.
Be aware that it is not just about getting the minimum speed after opening without stalling, but the minimum speed that still allows you to steer! This range of brake setting that is flying, but not steerable can vary with every canopy, but especially on slatted models this can be a rather large range. So be aware of this!